


A site dedicated to what started out as a Christmas present for my son, and grew into my hobby.
It is a money pit that consumes many hours of weekend and late night building, but all in all is a most challenging and rewarding pastime
© 2013 Withy Grove Junction | Web Master - Ian Sharples


Railway Station - Using a Jackson’s Miniatures Station
As a member of the team who produce the G Scale Society’s “G Scale Journal” I was asked to review a building supplied by Jackson’s Miniatures. I did the initial review and then decided that the kit could be taken a lot further if you were willing to put the effort in.
One of the things that I wanted to ensure is that the building will stand up to the rigours of being outside in the inclement British weather (especially in sunny Bolton, which will be the home for this building).
You may recall that the building is “basic” if built out of the box, but does give the builder a very good starting structure.
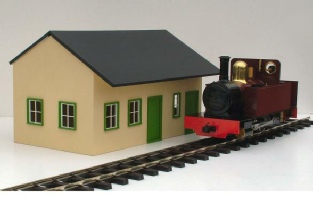
(Picture courtesy of Jackson’s Miniatures)
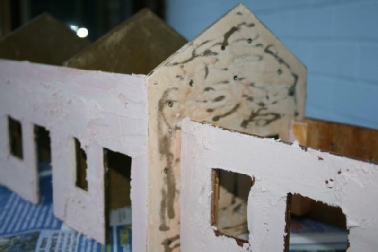
The first thing I did was to extend the length of the building. The extensions were built using some water & boil proof ply that I had in the garage.
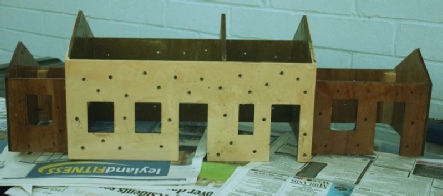
The whole structure was “beefed” up by adding 20mm sq. reinforcing timbers at all the internal corners and also to where the walls meet the roof.
The relevant apertures were cut for windows and doors on the extensions to the building. (I didn’t purchase any additional fittings from Jackson’s Miniature’s; I just used those items as supplied with the kit).
5mmØ holes were drilled randomly all over the walls of the building and then the entire building was coated with thickly brushed on fibreglass resin. I used fibreglass resin in order to totally waterproof the MDF and plywood and also to provide a sound surface for the car body filler I coated the building in. The 5mm holes also allow the filler to create a “rivet” type effect for additional adhesion.
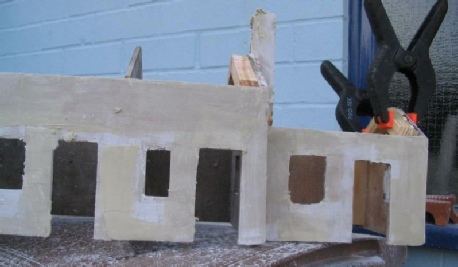
I have used car body filler on a number of other buildings on my layout and on buildings I have made for friends. The reasons behind using this medium are mainly – It’s easy to work with, it cures in a matter of minutes, so you’re not left hanging around waiting for it to go “off” and the most important reason is that of its durability. Let’s be honest – It lasts longer than the cars it’s used to patch up!
Car body filler was liberally applied to all the walls – up to a thickness of about 3mm. This was then sanded down to a reasonably flat surface – some blemishes were left in on purpose.
Bricks and mortar joint lines were then scribed on to the building.
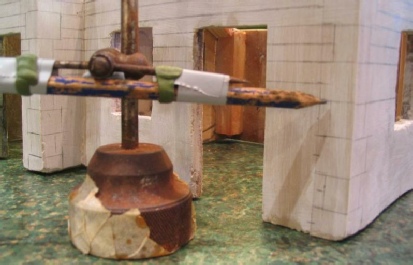
The mortar lines were scribed into the car body filler using a Dremel. (I ensured that the scribed joints were not deeper than the thickness of the car body filler).
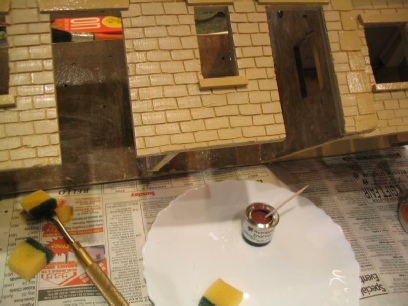
Lintels over the windows and doors were added as were windowsills to each of the windows. These are made from timbers sections available from model shops. The building was then coated with enamel paint (using the colour I wanted for the mortared joints. In this case Humbrol “satin oak”).
Click Here
to continue reading

| Origins |